How to Use Windows 10 as a Cloud Server
Windows 10 is quite a powerful operating system, and with the right tool and settings, it can easily become a basic cloud server. That would let you share files, access your system remotely, or even host simple web applications. Let's look at how you can set up Windows 10 as a cloud server in just a few easy steps.
Step 1: Prepare Your System
First, prepare your computer by meeting the requirements: a reliable internet connection, sufficient storage space, and a good-performance computer. Also, keep your Windows 10 updated to the latest version.
Step 2: Enable Remote Desktop
Remote Desktop allows you to access your computer from another device. To enable it, follow these steps:
- Open Settings: Click on the Start menu and select the gear icon to open Settings.
- To Enable Remote Desktop Open Settings click on Systems, then tap on Remote Desktop.
- Flip the toggle to turn it on, under the Remote Desktop setting, take note of your computer's name so you could connect later.
Step 3: Install Web Server - Optional
This is where you want a web server installed to publish a website or web application. Let's install Internet Information Services (IIS). Here's how to do this:
- Open Control Panel: From the Start menu, search for "Control Panel."
- Select Programs: Click on Programs > Turn Windows features on or off.
- Enable IIS: Put a checkmark in "Internet Information Services" and click OK. This will install IIS on your system.
- Test IIS: Open your browser and type http://localhost to see the IIS welcome page.
Step 4: Set Up File Sharing
You can share files using the built-in file-sharing feature:
- Right-click on any folder you want to share.
- Go to Properties: Select Properties > Sharing > Advanced Sharing.
- Allow Sharing: Check "Share this folder" and set permissions if necessary.
- Accessing from Other Devices: Access the shared files from another device using your computer's network address.
Step 5: Configure Your Firewall
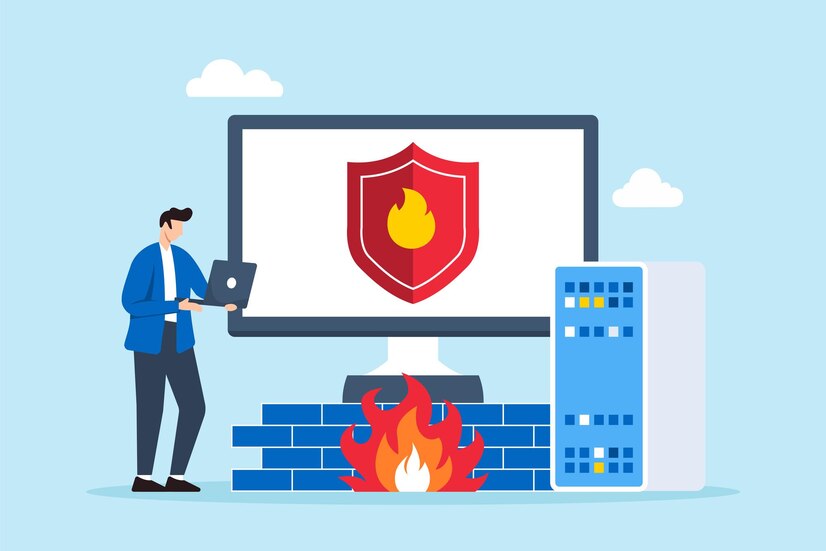
For connections to be accepted, you will have to change the settings in your firewall:
- Open Firewall Settings: Search for "Windows Defender Firewall" in the Start menu.
- Allow Apps: Click on Allow an app or feature through Windows Defender Firewall.
- Enable Necessary Services: Allow Remote Desktop, File Sharing, and IIS if installed.
Step 6: Use a Dynamic DNS Service
Most home internet connections have dynamic IP addresses which may change over time. For ease of access to your server, you could make use of a Dynamic DNS service. It'll map your ever-changing IP address to a fixed domain name.
- Signup for a DDNS Service: You could make use of No-IP or DynDNS.
- Install the Client: Download and install the DDNS client software on your computer.
- Set Up the Service: Follow your DDNS provider-specific instructions to bind your domain name to your computer's IP address.
Step 7: Test Your Cloud Server
Now that all is set, test your cloud server:
- Remote Access: Now, use Remote Desktop or use your browser if you are using IIS to connect to your server from another device.
- File Sharing: Test whether you can access the shared folders from other devices on your network.
Conclusion
Cloud file hosting, applications, and remote access using a Windows 10 operating system are more budget-friendly means than professional server software. While it is not as powerful compared to professional server software, it will work great in small or personal use. Thus, you can turn any Windows 10 computer with these steps into a cloud server.Windows 10 is quite a powerful operating system, and with the right tool and settings, it can easily become a basic cloud server. That would let you share files, access your system remotely, or even host simple web applications. Let's look at how you can set up Windows 10 as a cloud server in just a few easy steps.