How to Renew Let’s Encrypt Certificates in Simple Steps
Ensuring your website is secure is essential for building trust with your visitors and protecting sensitive data. One of the easiest ways to secure your website is by using Let’s Encrypt SSL certificates. These certificates are free, automated, and provide HTTPS encryption for your site. However, Let’s Encrypt certificates are valid for only 90 days, making renewal a critical part of maintaining website security.
In this guide, we will walk you through the steps to renew your Let’s Encrypt certificates quickly and safely.
Why Renewing Your Let’s Encrypt Certificate is Important
- Let’s Encrypt certificates have a short lifespan of 90 days. If your certificate expires:
- Visitors may see security warnings when visiting your site
- Your website may lose trust and credibility
- Sensitive data may be exposed to potential threats
Regular renewal ensures your website remains secure, uninterrupted, and fully trusted by visitors and search engines.
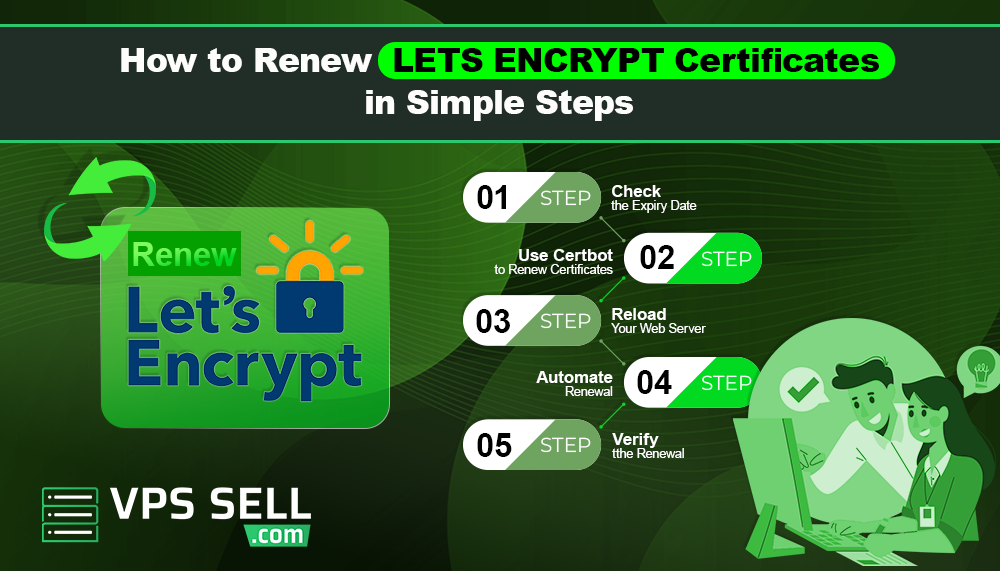
Step 1: Check the Expiry Date of Your SSL Certificate
Before renewing, check when your certificate will expire. You can do this using:
- Your hosting control panel
- Online SSL checker tools
- Command-line tools like OpenSSL
For example, in Linux, you can run: openssl x509 -enddate -noout -in /etc/letsencrypt/live/yourdomain.com/cert.pem
This command shows the exact expiration date of your certificate.
Step 2: Use Certbot to Renew Certificates
Certbot is the most popular tool for managing Let’s Encrypt certificates. To renew your certificate, follow these steps:
- Connect to your server via SSH.
- Run the renewal command:
sudo certbot renew
Certbot will automatically check all installed certificates and renew the ones that are near expiration.
Step 3: Reload Your Web Server
After renewal, you need to reload your web server to apply the new certificate. Depending on your server:
For Apache: sudo systemctl reload apache2
For Nginx: sudo systemctl reload nginx
This ensures your website immediately starts using the renewed certificate.
Step 4: Automate Renewal
To avoid forgetting to renew, automate the process. Most systems allow you to add a cron job for automatic renewal. For example: *0 0/usr/bin/certbot renew --quiet**
This command checks for certificate renewal every day at midnight and renews automatically if needed.
Step 5: Verify the Renewal
After renewing, verify that your website is using the new certificate. You can:
- Visit your site and check the HTTPS lock icon in the browser
Use online SSL checker tools to confirm the updated expiry date
Common Issues During Renewal
-
Rate limits: Let’s Encrypt limits the number of certificates issued per domain. Avoid requesting multiple unnecessary certificates.
-
Server configuration errors: Ensure your web server is correctly configured to allow Certbot to update certificates.
-
Firewall restrictions: Certbot requires access to ports 80 and 443. Make sure they are open during renewal.
Conclusion
Renewing your Let’s Encrypt certificate is a simple but crucial step to keep your website secure and trusted. By following this step-by-step guide and automating the process, you can ensure your SSL certificate never expires unexpectedly. Keeping your website secure not only protects your visitors but also improves SEO and boosts customer confidence. Make Let’s Encrypt renewal a regular part of your website maintenance routine.