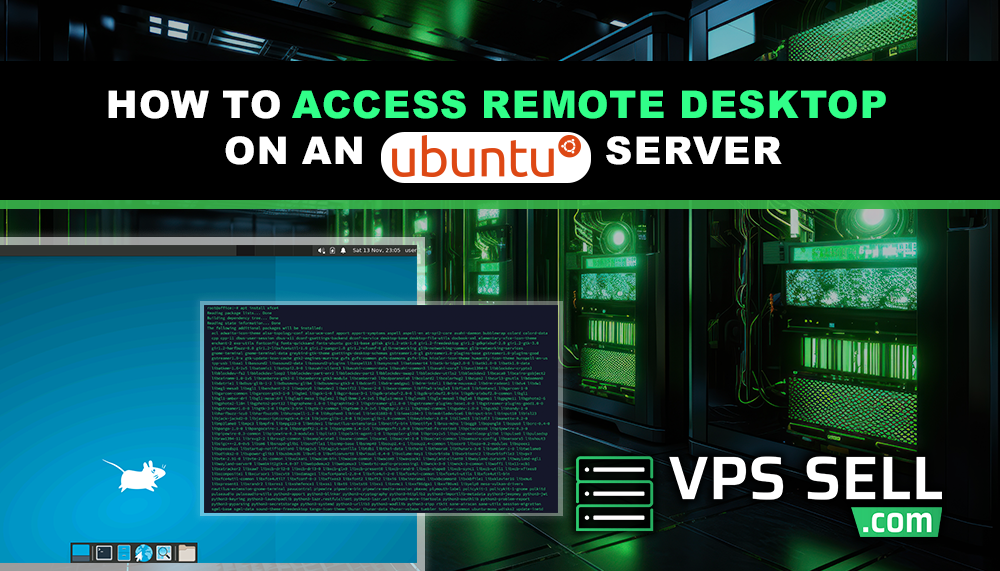
How to Access Remote Desktop on an Ubuntu Server
Far and away, the most common method of connecting to an Ubuntu server that you're administering is by using RDP. With Remote Desktop, you'll be able to connect to and control your server just as if you were sitting directly in front of it. We will walk through the process of how to enable and then use Remote Desktop with your Ubuntu server. Here is that process.
Why Use Remote Desktop on Ubuntu?
To many, remote connections are quite important in the management and troubleshooting of the server. RDP makes it quite easy to interact with the graphical interface of your server since you would have more user-friendly ways of handling tasks. This will be useful when you get accustomed to and would like a visual interface instead of command lines.
How to Set Up Remote Desktop on Ubuntu
Here is a simple step-by-step guide to setting up Remote Desktop on your Ubuntu server.
Step 1: Update Your Server
Before installing new software, it is good practice to ensure your server is updated. This will provide better compatibility and security. Run the following commands:
        sudo apt update
sudo apt upgrade
This will update the packages and security patches on your server.
Step 2: Install a Desktop Environment
To be able to use Remote Desktop on your server, you must have a graphical desktop environment installed. Ubuntu doesn't have one; you'll have to download and install it. Among the most downloaded X-based-that is, a lightweight for Ubuntu-desktop environments, Xfce is lightweight and uses just about the minimum amount of resources.
Install Xfce by running:
sudo apt install xfce4
This will take about a minute or two. Once this is finished, you'll be able to initiate a GUI.
Install xRDP for RDP You will need to install the Open Source implementation for Unix systems of RDP, which is called xRDP. That will give you the possibility to access your Ubuntu desktop from any other computer with the RDP client installed.
Step 3: You can install the xRDP by running the following command in your terminal:
sudo apt install xrdp
After the installation, enable xRDP for the service.
    sudo systemctl enable xrdp
sudo systemctl start xrdp
Step 4: Configure xRDP for Your Desktop Environment
Set the default desktop environment of xRDP to Xfce.
-
Open the configuration file of xRDP.
sudo nano /etc/xrdp/startwm.sh -
Add the following at the bottom of the file and just before
exit 0:
xfce4-session// Save and exit the file.
Restart the xRDP service to apply your changes:
sudo systemctl restart xrdp
Step 5: Connect to Your Ubuntu Server Using RDP
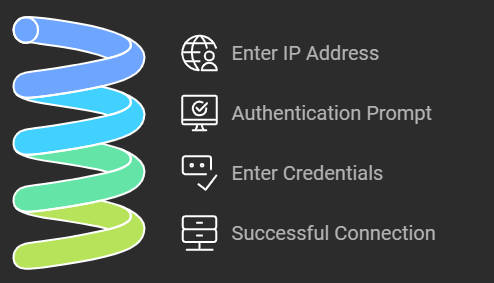
With the xRDP installed and configured, you should be able to connect to your Ubuntu server using any RDP client, such as Microsoft Remote Desktop. Here's how to do so:
- Open your RDP client on your local computer.
- Type in the IP address of your Ubuntu server.
- You will be prompted for the username and password of your Ubuntu server.
By the end of the process, you should see the Xfce desktop up on your screen with an opened remote connection to your server.
Troubleshooting Issues
- Firewall Settings: Allow your server's firewall to permit the RDP. You do this by opening port 3389 - the default RDP port. You run
sudo ufw allow 3389using Terminal. - Rebooting: Sometimes issues where your first setup doesn't work are resolved by simple rebooting of your server.
Conclusion
Setting up Remote Desktop on an Ubuntu Server is not rocket science, but it's rather about completing the steps. As a matter of fact, using RDP will easily provide immediate access to your server from anywhere and truly make it very easy to handle servers. You can remotely get to and access the graphical interface of an Ubuntu Server by installing xRDP and then configure a lightweight desktop environment like Xfce.